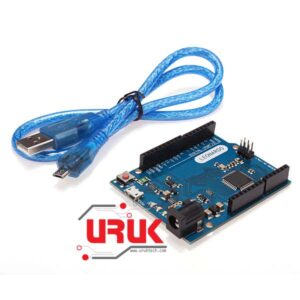
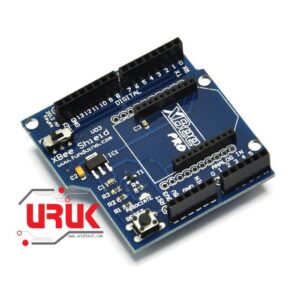
Dark Light

Let’s Make Xbee talk!! Leave a comment

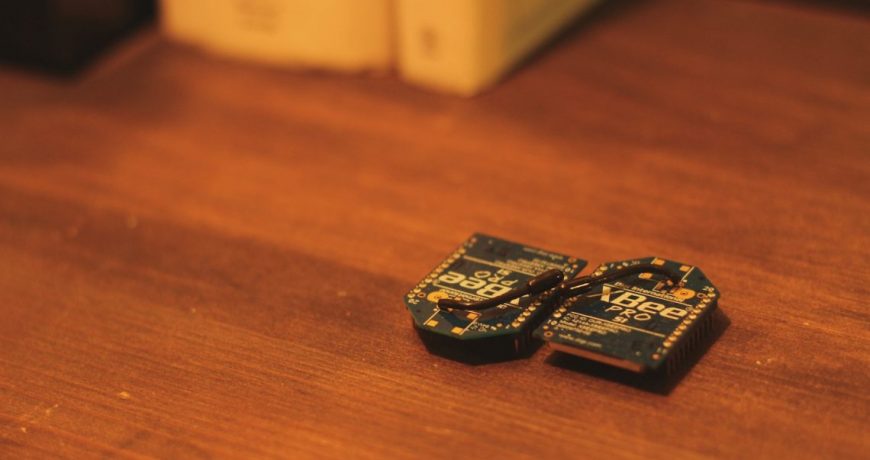
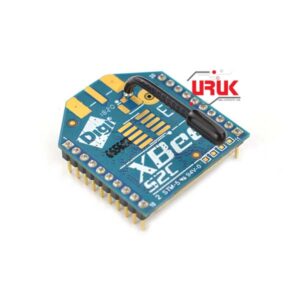
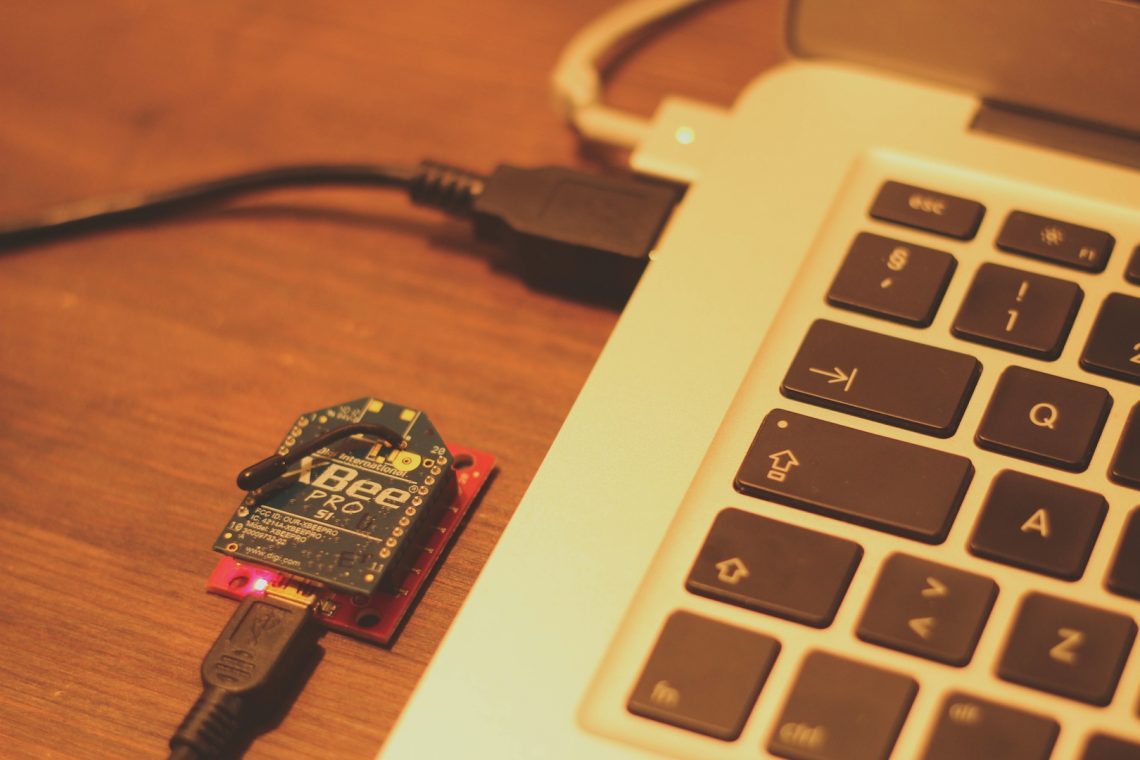
Wireless communication is still one of the coolest things I know of, and it opens up for so many possibilities! I will therefore, in this tutorial, show you how to setup and communicate wirelessly between two XBee’s Series 1. I will use OSX 10.8, but you could easily adopt this method to Windows or Linux. We will make a very simple program, because this tutorial will focus on setting up the communication. What you will use the wireless link to make is up to you – be freakin’ creative!

Pre requirements

Software:

Hardware:

  • 1x Arduino Leonardo or UNO (I’ll provide code for both)
  • 2x XBee Series 1
  • 1x XBee Explorer
  • 1x XBee Shield
  • (1x 9V to Barrel Jack Adapter) optional
  • (1x 9V Battery) optional

Program the XBee’s:

exp6_has_1

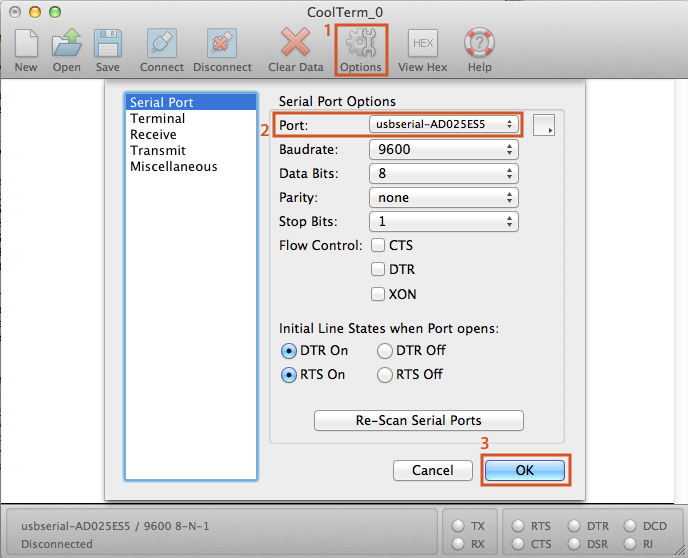
The first thing we need to do is to setup the XBee’s so they talk to each other. There are different ways to do this, but I found the easiest way is to use CoolTerm.

  1. Place one of your XBee’s in the Explorer board, and connect it to your computer with a USB cable
  2. Open CoolTerm and (1) press the “Option” button. Under “Serial Port Option” (2) press the “Port”-drop down menu and choose your Explorer. The name is something like usbserial-AD025ES5. If you can’t see it there, press the “Re-Scan Serial Ports”-button. (Still can’t see it?: Are you sure you have installed the FTDI drivers?)

exp6_has_3

  1. Hit the (3) “Ok”-button and get ready for some quality time with the XBee.
  2. There are the four commands you need, to setup the XBee’s:
    1. ATMY: The XBee address. This needs to be different on the two XBee’s.
    2. ATDL: The destination address (the other XBee’s ATMY address).
    3. ATID: The PAN ID – this is the network the XBee’s will communicate in. This needs to be the same on both XBee’s.
    4. ATWR: Save the changes to the XBee.
    5. We are going to setup the XBee’s like this:
ATMY ATDL ATID
XBee1 1234 5678 2244
XBee2 5678 1234 2244
  1. Hit the “Connect”-button and write +++.  Don’t press enter, just wait a second and you will see ‘OK’. (The ‘OK’ means that the XBee is ready to receive commands. If you don’t type in a command within 10 seconds, the state will change and you have to write +++ again.)
  2. Write ATMY1234 and hit enter
  3. Write ATDL5678 and hit enter
  4. Write ATID2244 and hit enter
  5. Write ATWR and hit enter. 
  6. Hit the “Disconnect”-button
  7. Repeat the steps 5 to 10 for the second XBee (the only difference on the second XBee is: write ATMY5678 and ATDL1234 (In other words, the opposite of XBee 1))
  8. Close CoolTerm and remove the XBee Explorer from the USB port
  9. That’s it boy! Your XBee’s is ready.

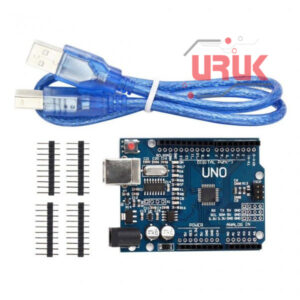
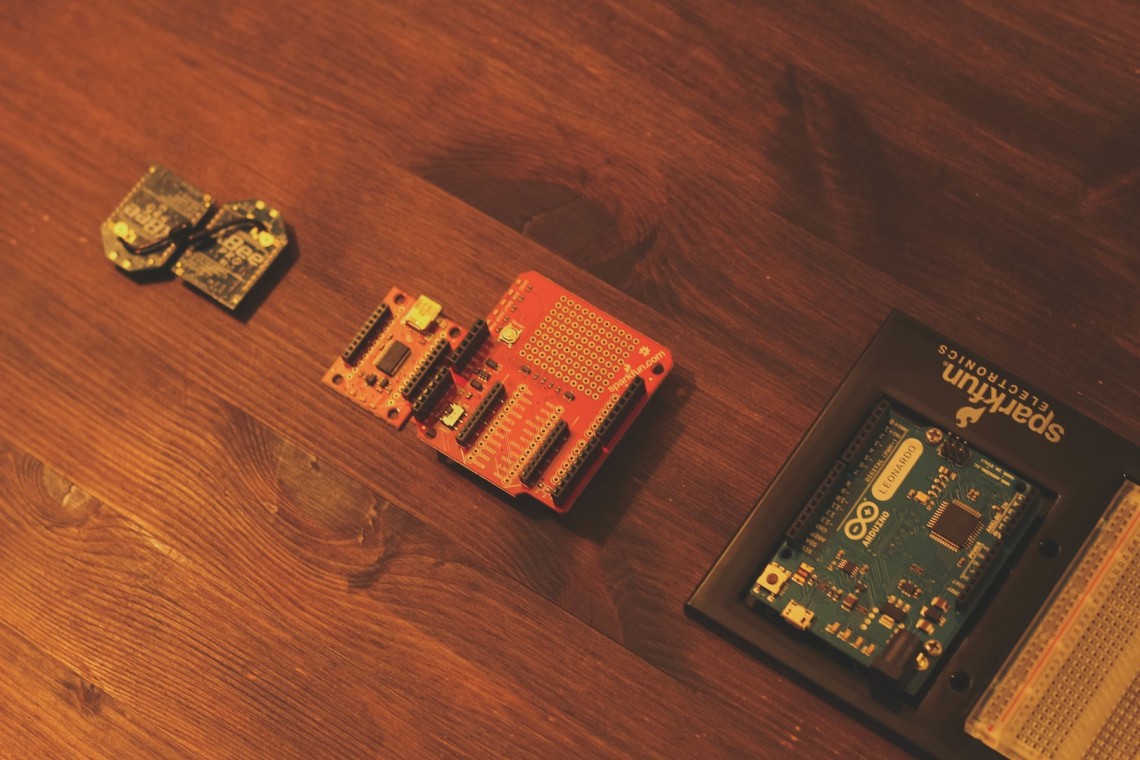
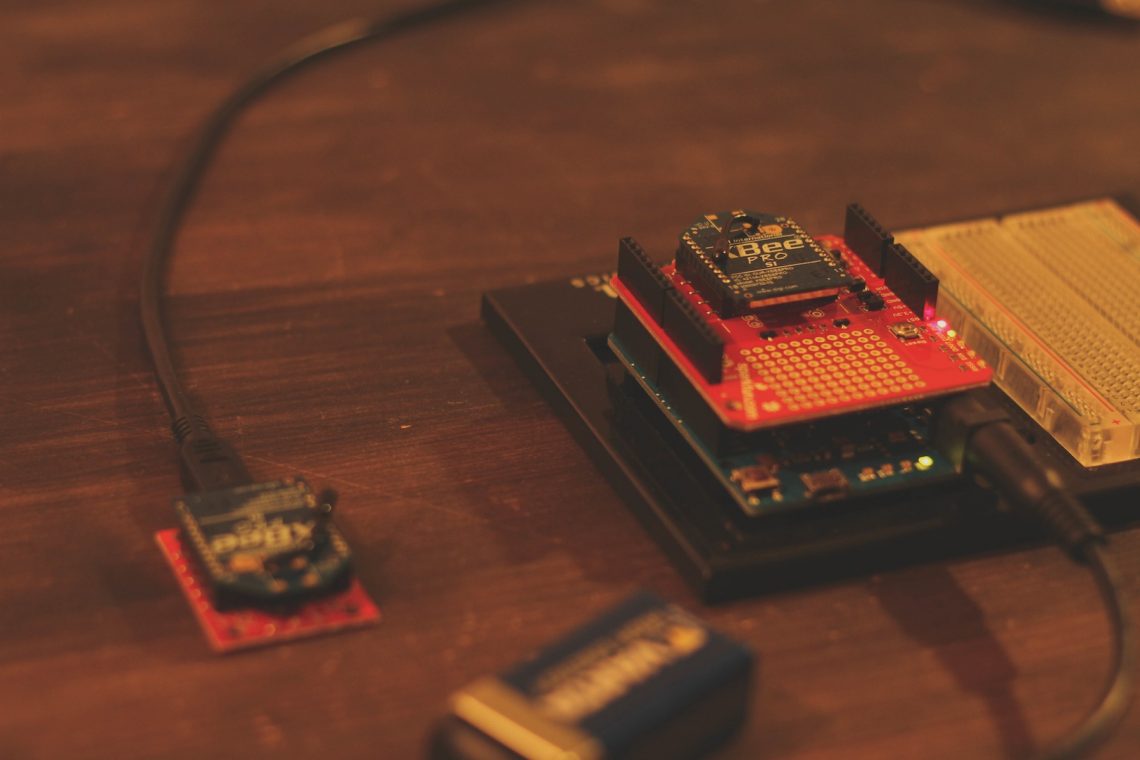
Program the Arduino:

exp6_has_4

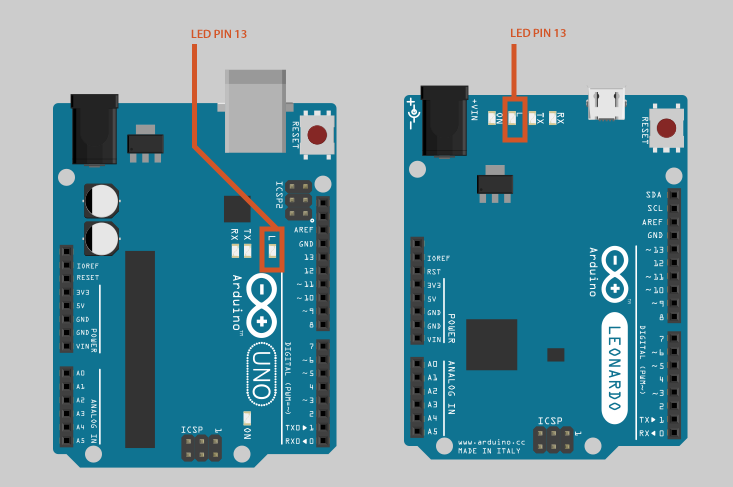
On the Arduino there is a built-in LED (digital pin 13). This pin is placed different on the UNO and Leonardo, see picture above. In this tutorial we will make this light up when the Arduino receives a wirelessly signal.

  1. Place one of the XBee’s on the shield and place the shield on the Arduino. On your XBee shield you have a switch where you can choose between DLINE and UART. Set the switch to UART.
  2. Plug your Arduino board to your computer and open the Arduino software
  3. Press “Tools” -> “Serial Port” and choose your serial port. Mine is tty.usbmodem1411 (yours will look the same but probably have different digits).
  4. Press “Tools” -> “Boards” and choose your board (Leonardo, UNO etc.)
  5. Paste in the code under (use the first one if you have Arduino UNO or the second if you have Arduino Leonardo) and hit the upload-button.

**You May See the XBee Test Code at the End of this tutorial.** 


  1. Let the Arduino stay connected to the computer

Let em’ talk!

exp6_has_5

  1. Place the other XBee onto the Explorer and plug it in the computer
  2. Open up CoolTerm, choose the Explorer board in the options menu and press ‘OK’ (step 2 and 3 in step 1)
  3. Press the “Connect”-button
  4. Write something (doesn’t matter what you write and you won’t see anything in the serial monitor space). You should see led pin 13 on the Arduino blink for a second.
  5. That’s it! You now have two XBee’s talking to each other!

exp6_has_6

Arduino Code

//Arduino UNO XBee Test Code
int led = 13;
int temp = 0;
void setup() {
  Serial.begin(9600);
  pinMode(led, OUTPUT);
}
void loop() {
  if (Serial.available() > 0) {
    temp = Serial.read();
    digitalWrite(led, HIGH);
    delay(1000);
    digitalWrite(led, LOW);
    delay(1000);
  }
}
//Arduino Leonardo XBee Test Code
int led = 13;
int temp = 0;
void setup() {
  Serial1.begin(9600);
  pinMode(led, OUTPUT);
}
void loop() {
  if (Serial1.available() > 0) {
    temp = Serial1.read();
    digitalWrite(led, HIGH);
    delay(1000);
    digitalWrite(led, LOW);
    delay(1000);
  }
}

The items used in this experiment
المواد المستخدمة في التجربة يمكنكم اضافتها الى سلة مشترياتكم مباشرة من هنا

Leave a Reply

Your email address will not be published. Required fields are marked *