MPU6050: Arduino 6 Axis Accelerometer + Gyro Leave a comment
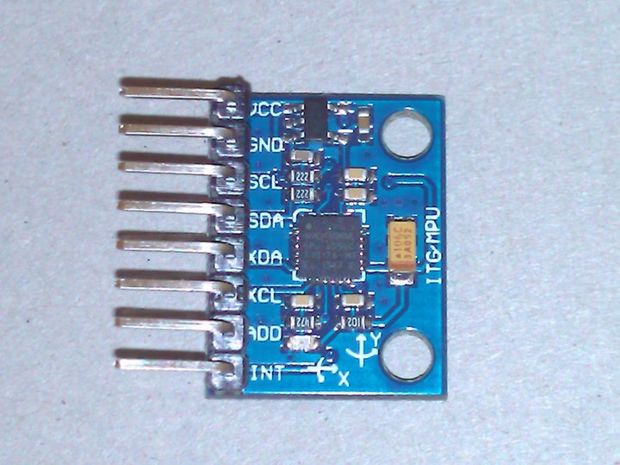
Are you looking to make your own quadcopter drone or RC plane with Arduino but don’t know how to get the gyro working? Perhaps you already bought some 6 axis MPU6050 modules (on the GY-521 breakout boards) only to find out they weren’t as simple to use as you thought? Try this out!
You’ll learn to wire a simple circuit to test your MPU6050 with an Arduino and simulate the YAW, PITCH and ROLL on a 3D model plane on the screen. This is intended as a learning tool to get you familiar with gyro modules, breakout boards and installing the necessary libraries to your Arduino IDE to allow you to make the best use of your MEMS gyro and save time instead of writing complex code from scratch.
Here’s what you need:
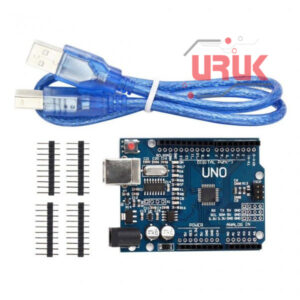
- 1 x Arduino UNO + USB cable
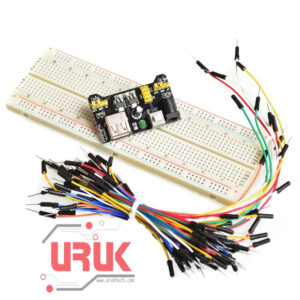
- 1 x mini prototyping breadboard
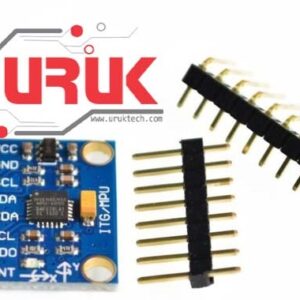
- 1 x GY-521 breakout board (few bucks on eBay)
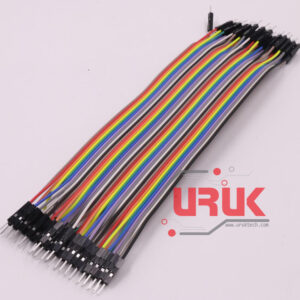
- Some male-to-male jumper cables
- Soldering iron + solder.
Step 1: Wire Circuit as Shown Below:

***NOTE: all red cables are VCC (+5V) and black cables are GND, check carefully when wiring up your circuit. The breakout board comes with pins but requires soldering.***
For your own learning:
- the gyro module communicates with the Arduino through I2C serial communication via the serial clock (SCL) and data (SDA)
- the MPU6050 chip needs 3.3V but a voltage regulator on the GY-521 board allows you to give it up to 5V
Step 2: Install I2Cdev & MPU6050 Libraries
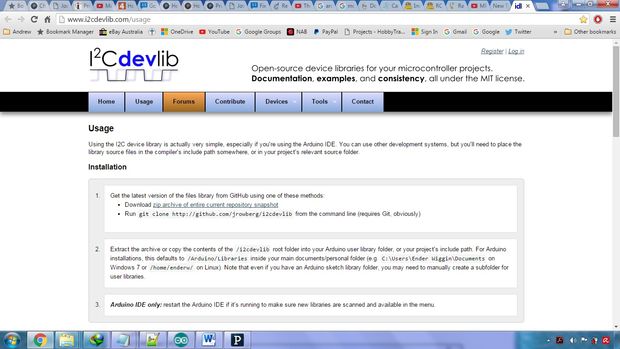
If we were to write the code from scratch, it would take ages and there would be a lot of reverse engineering required to make good use of the module’s proprietary Digital Motion Processing (DMP) engine because Invensense intentionally released minimal data on its MPU6050. Good thing someone has already done the hard work for us; Jeff Rowberg wrote some Arduino libraries to obtain the accelerometer / gyro data and handle all the calculations. They are available as a zip file from here:
https://github.com/jrowberg/i2cdevlib/zipball/master
Once unzipped, find the Arduino folder within it and copy the two folders “I2Cdev” and “MPU6050” over to your Arduino “libraries” folder in the following directory:
C:\Program Files (x86)\Arduino\libraries
Then open the Arduino IDE and in the examples section, you should find MPU6050_DMP6 within MPU6050. Open it, plug your arduino in, select the appropriate COM Port and upload the sketch. In the Serial Window, select a baud rate of 115200. You should be prompted that the MPU6050 connection was successful. You can test the data collection by typing anything in the text bar and pressing enter, the data should start showing up.
Now we want to set the code to run the teapot demo to show the 3D simulation. Close the serial window, then find and comment out the line #define OUTPUT_READABLE_YAWPITCHROLL and uncomment the line //#define OUTPUT_TEAPOT. Select “save as” and choose where you want to save the modified code. Upload again but don’t open the serial window this time.
Step 3: Download & Install Latest Version Of Processing & ToxicLibs Library
To run a 3D simulation of the yaw / pitch / roll values on an airplane on the screen, we’ll be running the teapot demo from the MPU6050_DMP6 example from Jeff Rowberg’s MPU6050 libary. However the Arduino IDE will only be acquiring the data, to display the 3D simulation we’ll need additional software: Processing. Download Processing from here, then unzip to wherever you like:
https://processing.org/download/?processing
We’ll need one final library to get things running: ToxicLib. This library will be going into Processing’s libraries folder instead of Arduino’s. The latest version of the ToxicLibs library is here:
https://bitbucket.org/postspectacular/toxiclibs/downloads/
The “libraries” folder of Processing can be found by following (starting from within the processing folder): modes -> java -> libraries. Unzip ToxicLibs and place ALL the contents there.
Step 4: Run The Simulation
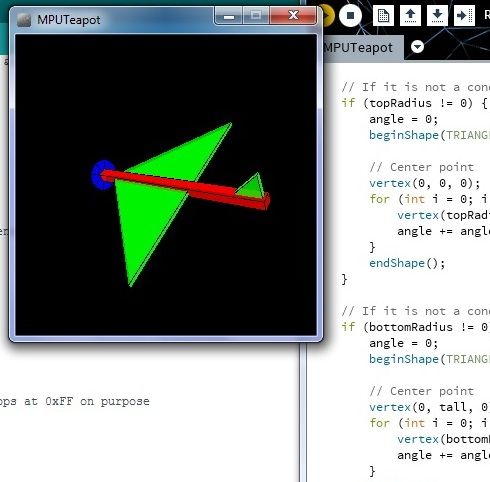
Last of all, open the Processing application file and then
File -> Open -> follow this directory C:\Program Files (x86)\Arduino\libraries\MPU6050\Examples\MPU6050_DMP6\Processing\MPUTeapot
and open the MPUTeapot file.
Click the play button and the system should calibrate for about 20-30 seconds, leave the gyro stationary during that period.
Now pick up the gyro and test out the yaw / pitch / roll. Once you’re happy that it all works properly you can begin experimenting with it for your own projects. If you want to make full use of the I2Cdev or MPU6050 libraries and their functions, consult their header files.