#include <SPI.h>
#include <MFRC522.h>
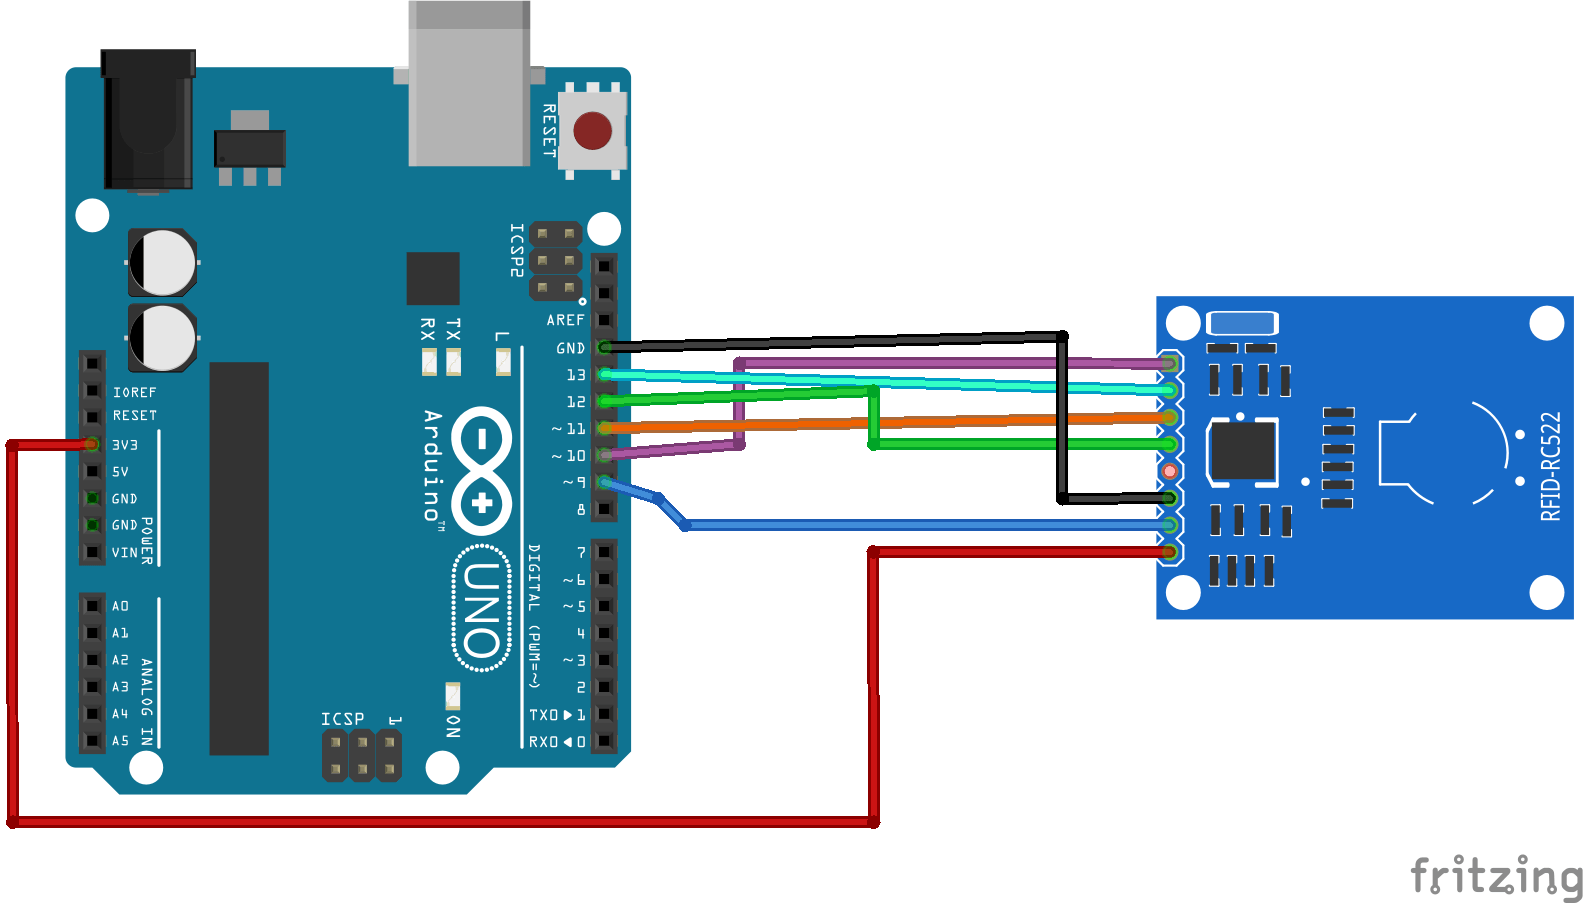
#define SS_PIN 10
#define RST_PIN 9
MFRC522 mfrc522(SS_PIN, RST_PIN); // Create MFRC522 instance.
void setup()
{
Serial.begin(9600); // Initiate a serial communication
SPI.begin(); // Initiate SPI bus
mfrc522.PCD_Init(); // Initiate MFRC522
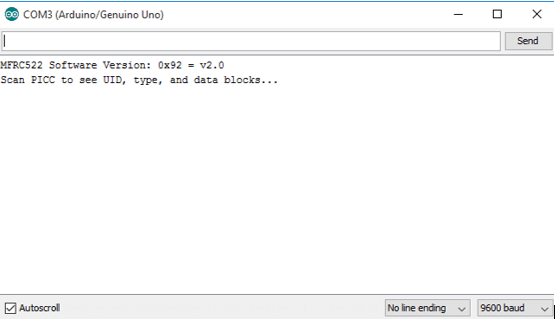
Serial.println(“Approximate your card to the reader…”);
Serial.println();
}
void loop()
{
// Look for new cards
if ( ! mfrc522.PICC_IsNewCardPresent())
{
return;
}
// Select one of the cards
if ( ! mfrc522.PICC_ReadCardSerial())
{
return;
}
//Show UID on serial monitor
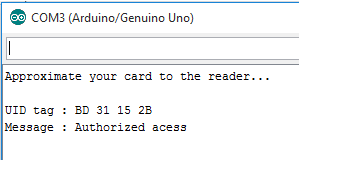
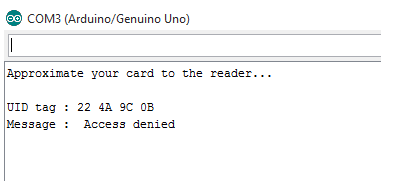
Serial.print(“UID tag :”);
String content= “”;
byte letter;
for (byte i = 0; i < mfrc522.uid.size; i++)
{
Serial.print(mfrc522.uid.uidByte[i] < 0x10 ? ” 0″ : ” “);
Serial.print(mfrc522.uid.uidByte[i], HEX);
content.concat(String(mfrc522.uid.uidByte[i] < 0x10 ? ” 0″ : ” “));
content.concat(String(mfrc522.uid.uidByte[i], HEX));
}
Serial.println();
Serial.print(“Message : “);
content.toUpperCase();
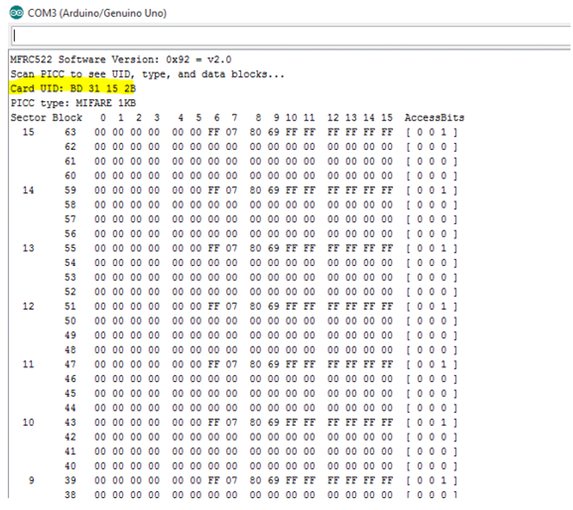
if (content.substring(1) == “BD 31 15 2B”) //change here the UID of the card/cards that you want to give access
{
Serial.println(“Authorized access”);
Serial.println();
delay(3000);
}
else {
Serial.println(” Access denied”);
delay(3000);
}
}


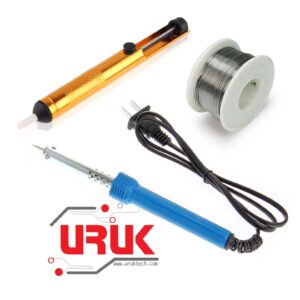 Soldering Kit
1 × 14,000 د.ع
Soldering Kit
1 × 14,000 د.ع 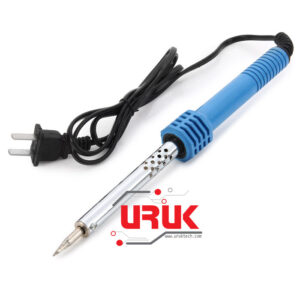 40 Watt Soldering Iron
1 ×
40 Watt Soldering Iron
1 ×  Solder Wire 50g 0.8mm
1 ×
Solder Wire 50g 0.8mm
1 ×  Desoldering Pump Sucker (Solder Remover Tool)
1 ×
Desoldering Pump Sucker (Solder Remover Tool)
1 ×  Standard DC Motor (R130)
1 × 750 د.ع
Standard DC Motor (R130)
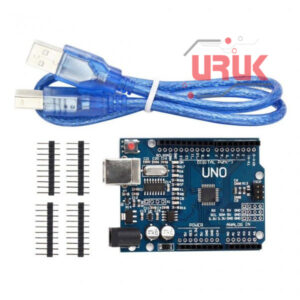
1 × 750 د.ع  Arduino Pro Mini 5V/16MHz
1 × 9,000 د.ع
Arduino Pro Mini 5V/16MHz
1 × 9,000 د.ع