Super Easy to Build 1Sheeld 2 Wheel Drive Robot Leave a comment
STORY
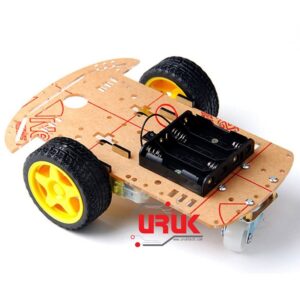
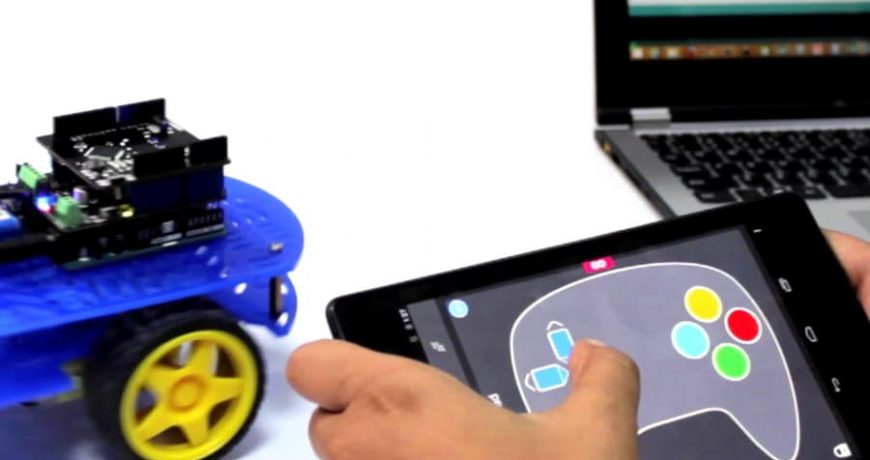
In this article we will make a two wheeled robot using Arduino, motor shield and 1Sheeld uses Bluetooth as its communication channel. This will be a two wheeled robot that will be controlled using the game pad in the 1Sheeld application to control the robot.
is a great layer of abstraction to make you use almost all the sensors in your mobile phone to interface with the Arduino.
The code will be so simple as we’ll use the Adafruit library to help us more in reducing our code and circuit wiring using Adafruit shield.
We’ll begin by listing the components then we’ll start off.
Throughout the tutorial I’ll show you the way around how to get the required applications either for your phones or for your PCs.
This tutorial requires basic Arduino knowledge (Arduino power and basic coding).
List of Components
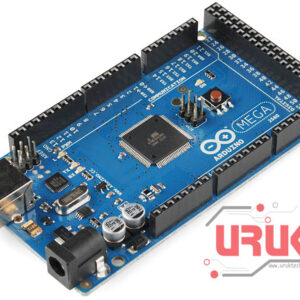
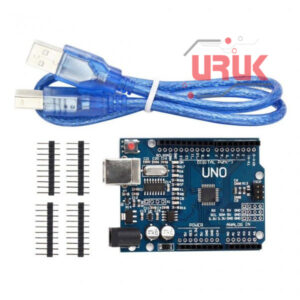
- Arduino Uno / Mega
- PC with Arduino IDE installed
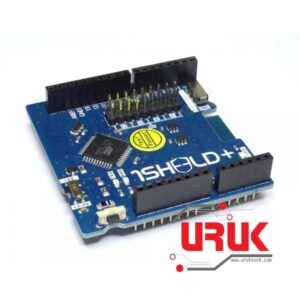
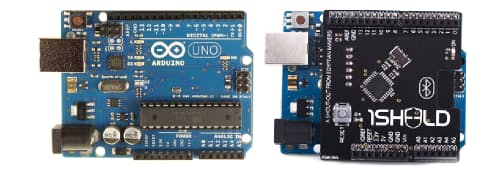
- 1Sheeld
- Android mobile phone with Bluetooth enabled and 1Sheeld application installed
- Adafruit motor shield
- 2-Wheel drive robot chassis
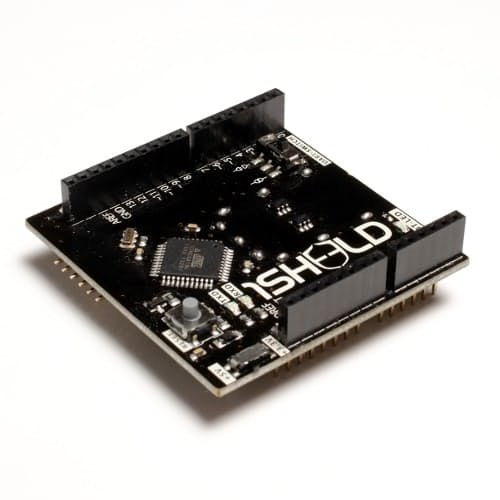
The 1Sheeld
1Sheeld is an open-source product that simplifies the interfaces between your android phone (and soon iPhone) sensors, and the Arduino using Bluetooth technology.
You can literally use all the sensors in your phone to interact with the Arduino and even more than your phone’s sensors. 1Sheeld’s main page can be found here.
The pages explains the shield thoroughly so I’ll let you explore its details and will just mentions the common catches and the starting tips. A direct link to the download section is here. You must download the library and add it to Arduino IDE to start using it. If you’re wondering how to add a library check this link.
Preparing the shield
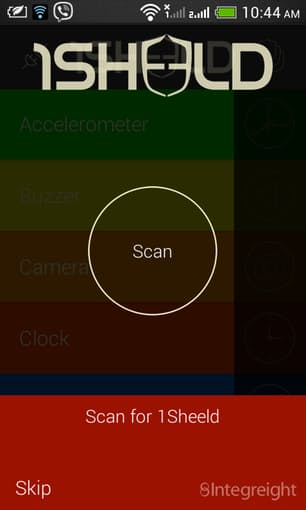
Download the 1Sheeld app using Google play

Connect the shield to the Arduino -push it gently with equal force on both sides
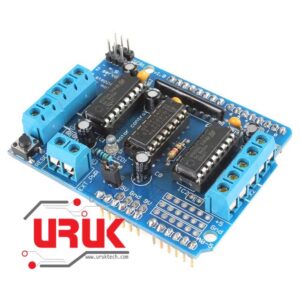
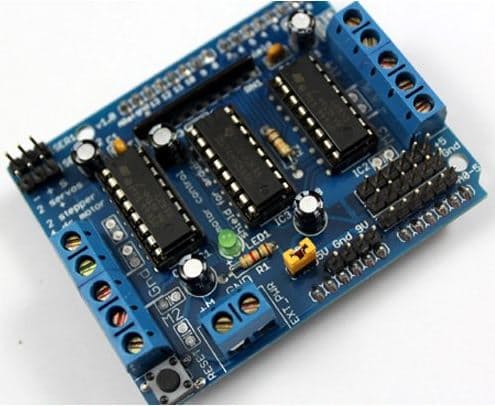
The Motor Shield
The Adafruit motor shield can supply power up to 4 motors, it will be placed on the top of 1Sheeld, if the motor shield doesn’t block the pins unlike the one in the image, the order doesn’t matter and I prefer placing the 1Sheeld on the top so it’s easier for you to switch between upload mode and operating mode on 1Sheeld.
In this tutorial we’ll use only 2, the motors are numbered according to this image, those numbers will be used in the coding process.
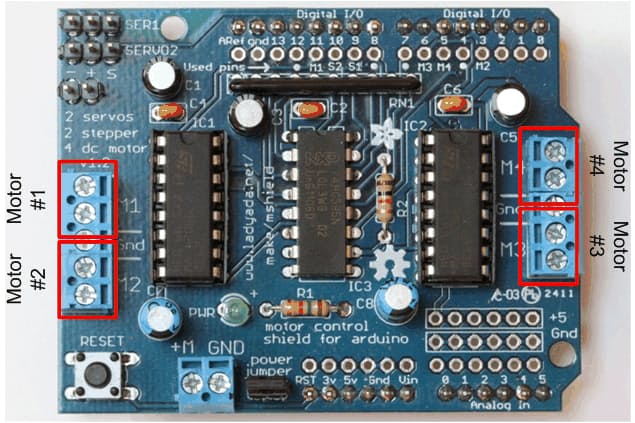
The +M (positive terminal -red-) and GND (negative terminal -black-) terminals will be connected to the battery or the power supply (12v ) which is fine by the Arduino, It also provides power for the Arduino.
Connecting the motors to the motor shield
It’s so simple as you’ll choose a terminal and connect the 2 motor wires, you also should follow a standard connection for each motor, just the same as the wiring example.
Software Part
The Motor Shield
You’ll need Adafruit library for the motor shield, try the following steps:
- Download the GitHub project as a ZIP file from this link
- Uncompress the ZIP file
- Rename the uncompressed folder AFMotor. Be sure that there are the AFMotor.cpp and the AFMotor.h files in the AFMotor folder.
- Add the library to the Arduino IDE as mentioned in step 1-3
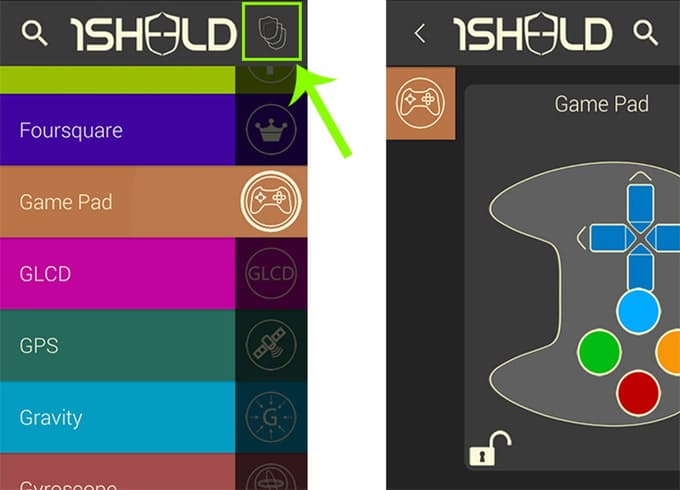
The 1Sheeld App
We’ll use the game pad shield from the application. before using the mobile as a shield you need to find your 1Sheeld and connect to it, if you’re being asked to enter a PIN code enter 1234.
After selecting your 1Sheeld board, you’ll turn on the game pad shield
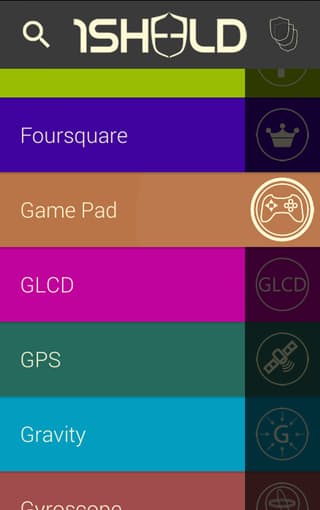
Then open the shields menu by tapping on the rectangle and stay on the game pad shield screen.
The Code
So, Basically we want the robot to move according to the game pad keys, and in the following directions.
Up – Forward
Down – Backward
Left – Steer Left
Right – Steer Right
using two wheeled motors is called differential drive
The library makes our lives easier by providing a simple way to run the motor (this image is from AFMotor.h code file.
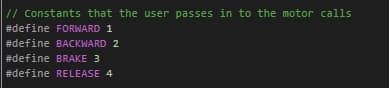
The main difference between the brake condition and the release condition is that in the brake condition the motor is forced to stop at its place, but in the release condition the motor is free to move a little bit according to its inertia.
If you don’t have Adafruit motor shield, you can use any motor driver/shield in the same manner, the code will just differ a little bit as you’ll set the pins yourself but that follows the same concepts here.
I just edited the game pad shield example from the 1Sheeld library, the code is below. the code for version 2.3 is also added and it was written by Garry Gerwer
If all your connections follow one standard, this code will work perfectly, if the directions seem to be flipped all what you’ll do is just flip the wires of a motor and check if it goes well.
Now you’ll just upload the code to the Arduino (don’t forget to turn the switch on the 1Sheeld to upload mode and switch it to operating mode after uploading the code).
Arduino Code
int ledPin = 13;
#define CUSTOM_SETTINGS
/* Use the game pad */
#define INCLUDE_GAMEPAD_SHIELD
/* Include 1Sheeld library. */
#include <OneSheeld.h>
#include <AFMotor.h>
// Motor objects, motor number on the motor shield board
AF_DCMotor motorLeft(1);
AF_DCMotor motorRight(2);
void setup()
{
/* Start communication. */
OneSheeld.begin();
// The LED just works as an indicator that the 1Sheeld is working fine
pinMode(ledPin, OUTPUT);
motorLeft.setSpeed(100);
motorRight.setSpeed(100);
}
void loop()
{
/* Always check the status of gamepad buttons. */
if (GamePad.isDownPressed())
{
motorLeft.run(BACKWARD);
motorRight.run(BACKWARD);
digitalWrite(ledPin, HIGH);
}
else if (GamePad.isUpPressed())
{
motorLeft.run(FORWARD);
motorRight.run(FORWARD);
digitalWrite(ledPin, HIGH);
}
else if (GamePad.isLeftPressed())
{
motorLeft.run(BACKWARD);
motorRight.run(FORWARD);
digitalWrite(ledPin, HIGH);
}
else if (GamePad.isRightPressed())
{
motorLeft.run(FORWARD);
motorRight.run(BACKWARD);
digitalWrite(ledPin, HIGH);
}
else
{
motorLeft.run(RELEASE);
motorRight.run(RELEASE);
digitalWrite(ledPin, LOW);
}
}
The items used in this experiment
المواد المستخدمة في التجربة يمكنكم اضافتها الى سلة مشترياتكم مباشرة من هنا
-
Boards
Arduino Mega 2560
اردوينو مييغا هي لوحة تطوري يحتوي على المتحكم Atmega2560 وهو متحكم تحتوي على 54 منفذ إدخال / إخراج رقمي (يمكن استخدام 15 منها كمخرجات تضمين عرض النبضة PWM )، و 16 مدخلًا تناظريًا، و 4 (منافذ تسلسلية Serial للأجهزة) ، ومذبذب كريستالي 16MHz، ووصلة (يو اس بى) ، ومقبس طاقة، وزر إعادة الضبط. ويحتوي على كل ما يلزم لدعم المتحكم الدقيق؛ ما عليك سوى توصيله بجهاز كمبيوتر باستخدام كيبل USB أو تشغيله على محول للتيار الثابت أو بطارية للبدء فى البرمجة.
SKU: 20